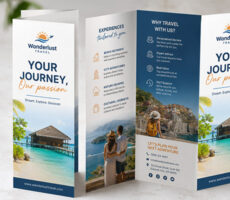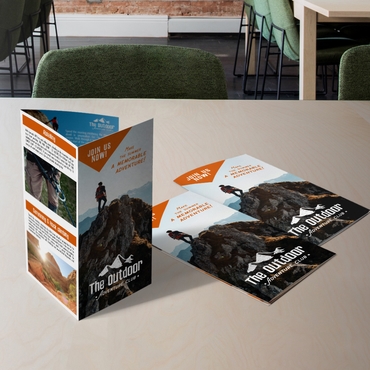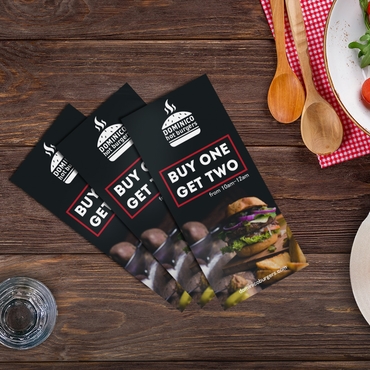
Rack cards have an unusual shape compared with most marketing materials: tall, narrow, and designed to sit inside display racks where only part of the card may initially catch someone’s attention.
That makes getting the dimensions right especially important.
For Overnight Prints, the standard finished rack card size is 4 × 9 inches. But if you’re creating your own artwork, a 4 × 9-inch canvas isn’t the only measurement you need to know.
You also need to account for the full bleed, trim area, safe zone, and image resolution before sending your file to print.
Here are the current dimensions for an Overnight Prints rack card:
| Specification | Rack Card Dimensions |
| Finished size | 4″ × 9″ |
| Full bleed size | 4.125″ × 9.125″ |
| Safe zone | 3.875″ × 8.875″ |
| Full bleed at 300 DPI | 1238 × 2738 px |
| Recommended resolution | 300 DPI |
| Recommended color mode | CMYK |
These specifications come from Overnight Prints’ current rack-card and Quick Specs pages.
So what do all those measurements actually mean?
What Is the Standard Rack Card Size?
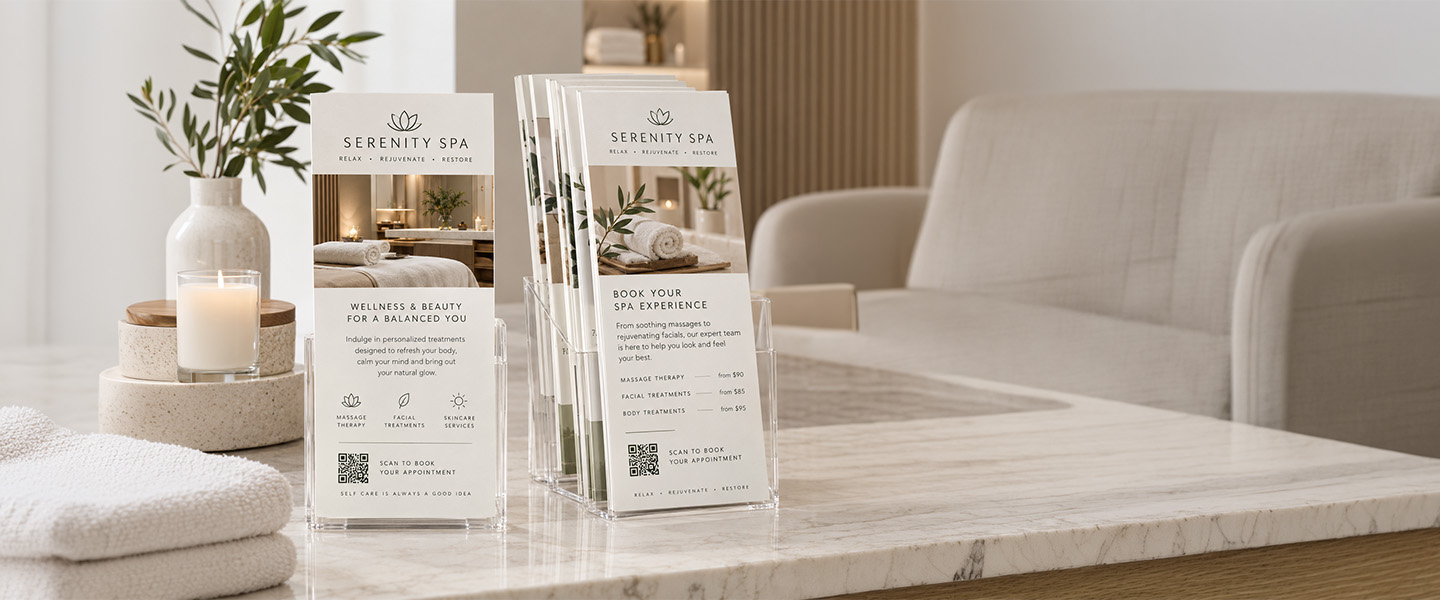
The standard rack card size at Overnight Prints is 4 inches wide by 9 inches tall.
Overnight Prints 4 × 9 Rack Cards
The 4 × 9-inch format is designed to fit common brochure racks and display holders while providing enough space for photography, a headline, essential information, and a call to action.
You’ll commonly see rack cards displayed in places such as:
- Hotel lobbies
- Visitor centers
- Restaurants
- Tourist attractions
- Retail counters
- Waiting rooms
- Real estate offices
- Information centers
Their proportions make them easy to display vertically and easy for someone to pick up and take with them.
But 4 × 9 inches refers to the finished size, not necessarily the dimensions of the artwork you upload.
That’s where bleed comes in.
Finished Size vs. Full Bleed Size
This is probably the most important distinction to understand when setting up your rack card.
The finished size is what the customer receives:
4″ × 9″
The full bleed size is larger:
4.125″ × 9.125″
Why?
Because if a photo, background color, or graphic is supposed to continue all the way to the edge of the finished card, the artwork needs to extend beyond the final cut.
Adobe describes bleed as artwork extending beyond the final trim edge so small variations during trimming don’t create unwanted gaps along the edge. (Adobe Help Center)
Think of your file as three areas:
FULL BLEED → TRIM → SAFE ZONE
Each one has a different job.
What Is the Bleed Area on a Rack Card?

The bleed is the outermost part of your artwork.
For Overnight Prints’ 4 × 9 rack cards, the full-bleed artwork dimensions are:
4.125″ × 9.125″
If you’re designing at 300 DPI, the current Quick Specs list the full-bleed pixel dimensions as:
1238 × 2738 pixels.
Anything intended to reach the finished edge of the rack card should continue through this area.
That can include:
- Background colors
- Photographs
- Patterns
- Textures
- Illustrations
- Decorative graphics
Example: Tourism Rack Card
Imagine you’re creating a rack card for a kayaking company.
The front uses a full-page photograph of kayakers surrounded by mountains.
If the photograph stops exactly at 4 × 9 inches, small variations during cutting could expose an unwanted white strip along an edge.
Instead, the photograph should continue through the entire 4.125 × 9.125-inch full-bleed area.
Your headline and logo, however, should not.
Those belong safely inside the design.
Overnight Prints specifically recommends extending backgrounds through the full-bleed area when they’re intended to reach the edge of the finished product. (Overnight Prints)
What Is the Trim Size?
The trim size is the intended finished size after the rack card has been cut:
4″ × 9″
You can think of the trim as the boundary between:
Artwork that remains
and
Extra artwork added for production
Your finished rack card isn’t supposed to measure 4.125 × 9.125 inches.
That extra area exists to accommodate the production process.
This is also why you shouldn’t use the trim line as the boundary for important text.
Cutting has tolerances, so important information needs additional space from the edge.
What Is the Safe Zone on a Rack Card?
For Overnight Prints’ 4 × 9 rack card, the current safe zone is:
3.875″ × 8.875″.
Important elements should stay inside this area.
That includes:
- Headlines
- Logos
- Phone numbers
- Addresses
- Websites
- QR codes
- Prices
- Promotional codes
- Calls to action
- Important parts of photographs or illustrations
Overnight Prints explains that anything extending outside the safe zone risks being affected during trimming and recommends keeping text and other important graphical objects comfortably within the boundary rather than directly against it.
An Easy Rule to Remember
When you’re not sure where something belongs, use this:
Backgrounds go OUT.
Important information comes IN.
Your background photo extends through the bleed.
Your phone number stays inside the safe zone.
Your background color extends through the bleed.
Your QR code stays inside the safe zone.
Your decorative pattern can extend through the bleed.
Your logo stays inside the safe zone.
That one rule prevents many common setup mistakes.
Rack Card Dimensions at a Glance
Here’s another way to visualize the three areas:
Outer Area — Full Bleed
4.125″ × 9.125″
Your edge-to-edge background artwork should fill this area.
↓
Middle Boundary — Trim
4″ × 9″
This represents the intended finished rack card.
↓
Inner Area — Safe Zone
3.875″ × 8.875″
Important content should remain comfortably inside this area.
If you’re creating your artwork from scratch, Overnight Prints also provides downloadable start files and templates to help establish these boundaries correctly. (Overnight Prints)
Browse 4 × 9 Rack Card Templates
How Big Should a Rack Card Be in Pixels?
Physical dimensions are more useful than pixels when creating print materials, but pixel dimensions matter when you’re working with raster artwork.
At Overnight Prints’ recommended 300 DPI, the current full-bleed dimensions for a 4 × 9 rack card are:
1238 × 2738 pixels.
That refers to the full-bleed area, not simply the finished 4 × 9 dimensions.
Starting with adequately sized artwork matters because taking a small image and stretching it to fill a rack card can result in visible pixelation or softness.
This is especially important for rack cards that rely heavily on photography.
Think:
Tourism: landscape photography
Restaurant: food photography
Real estate: property photography
Spa: treatment or lifestyle photography
Fitness: action photography
If the main photograph looks blurry, the entire rack card can feel lower quality.
What Resolution Should a Rack Card Be?
Overnight Prints currently recommends 300 DPI for rack card artwork.
But there’s an important detail:
A small image doesn’t become high quality just because you change its resolution setting to 300 DPI.
You need enough actual image data for the size at which the image will be printed.
For example, avoid downloading a tiny image from a website and enlarging it to cover most of a 4 × 9-inch rack card.
It might look acceptable in a small design preview but appear noticeably soft once printed.
For a deeper explanation of resolution, see our guide to preparing files for printing: bleed, trim, safe zones and resolution.
Should Rack Cards Be Vertical or Horizontal?
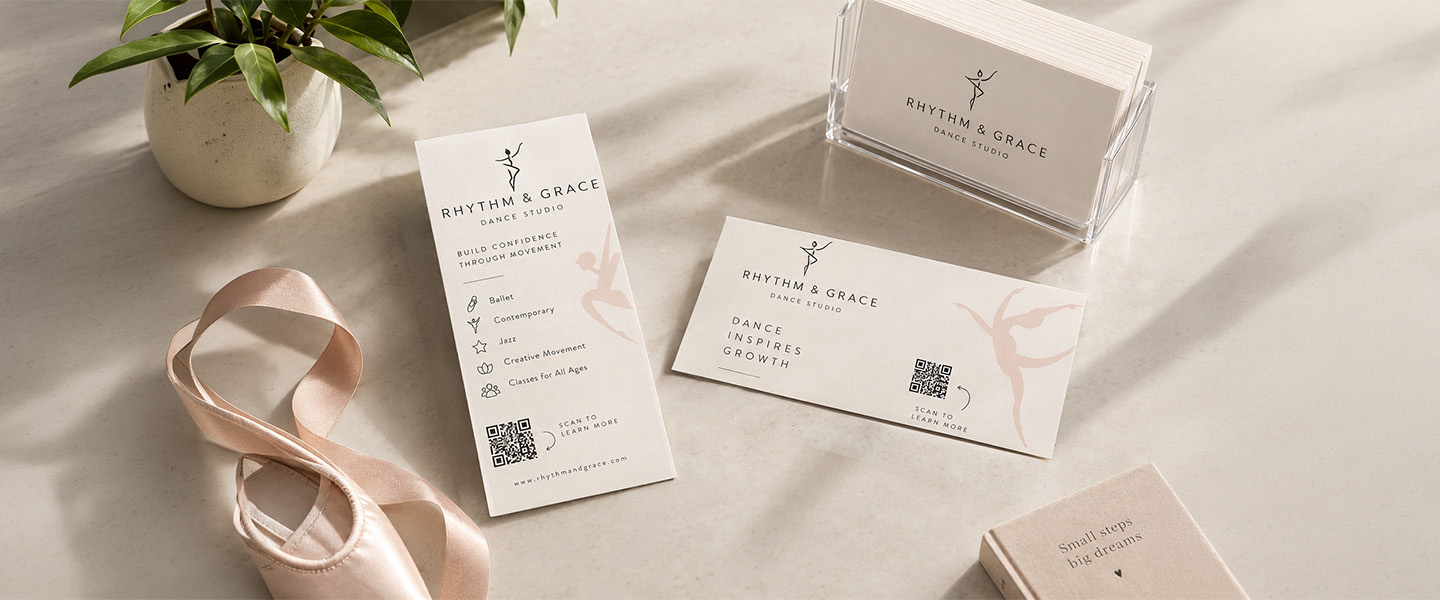
Rack cards are most commonly associated with a vertical 4 × 9-inch format, especially when they’re intended for brochure racks and similar displays.
That’s because the narrow vertical format works naturally with these holders.
However, Overnight Prints’ current rack card template gallery includes both portrait and landscape orientation filters.
So orientation should ultimately reflect how you plan to distribute the card.
If it’s going into a traditional display rack, vertical is the logical choice.
If you’re using the 4 × 9 format differently—for example, as a handout or counter piece—you may have more flexibility.
The important question isn’t simply:
Can I design it horizontally?
It’s:
How will someone actually encounter this card?
Design for the Part People See First
Here’s something that dimensions alone don’t tell you.
A rack card can sit behind the front edge of a display holder or among several competing cards.
That means the top section can carry disproportionate visual importance.
Imagine a tourism rack with 15 cards.
If the bottom of your design contains the beautiful destination photo and compelling headline, but that portion is partially hidden by the holder, you’ve wasted your strongest content.
Consider placing a strong identifying element near the upper portion of the card.
For example:
MOUNTAIN ZIPLINE ADVENTURES
rather than putting only:
Smith Adventure Company
at the top and hiding the actual reason to pick up the card farther down.
This is where physical context affects design.
Our existing guide to designing rack cards that actually get picked up goes deeper into headlines, hierarchy, imagery, and calls to action. This guide stays focused on getting the technical dimensions and file setup right.
How Much Content Fits on a 4 × 9 Rack Card?
Nine inches sounds like a lot of space.
Four inches wide does not.
That’s the challenge.
The narrow dimensions mean your rack card shouldn’t become a miniature brochure.
A practical front could contain:
Headline
↓
Hero image
↓
Short benefit or offer
↓
CTA
Then use the back for supporting information such as:
- Short description
- Key features
- Address
- Opening hours
- Contact information
- QR code
- Website
For example, a hotel attraction rack card could use:
FRONT
See the City From 1,000 Feet
[Large skyline photograph]
Observation Deck • Open Daily
Scan for tickets →
BACK
Short attraction description
Opening hours
Address
QR code
Website
The dimensions don’t need to accommodate every fact about the attraction.
They need to accommodate enough information to make someone take the next step.
Where Should a QR Code Go on a Rack Card?
QR codes can work particularly well on rack cards because people physically take the card with them and can scan it later.
A QR code might lead to:
- Reservations
- Tickets
- Menu
- Directions
- Tour schedule
- Property listing
- Appointment booking
- Special offer
- Website
But keep the QR code safely away from the trim area.
Don’t squeeze it into the corner just to save space.
Keep it inside the safe zone and give it enough clear space around the code to remain easy to scan.
And most importantly:
Test it at the actual printed size.
A QR code that scans perfectly when displayed six inches wide on your computer screen isn’t proof that it will work when printed much smaller.
Rack Card vs. Bookmark: Size Difference
Rack cards and bookmarks share a tall, narrow shape, but their dimensions and purposes are different.
At Overnight Prints:
| Product | Finished Size |
| Bookmark | 2″ × 6″ |
| Rack Card | 4″ × 9″ |
Overnight Prints’ current Quick Specs list these respective dimensions.
A bookmark is significantly smaller and designed to fit comfortably inside books.
A rack card provides substantially more space for marketing information and is designed for display and distribution.
If you’re considering the smaller format, our standard bookmark size guide explains bookmark dimensions and design considerations in more detail.
Rack Card vs. Brochure: Which Format Do You Need?
Size isn’t the only difference.
A rack card works best when the message can be communicated quickly.
A brochure gives you multiple panels and considerably more room for explanation.
For example:
Rack Card
A tour operator promotes:
Sunset Harbor Cruise
Photo
Starting price
Departure time
QR code
Brochure
The same tour company explains:
- Multiple tours
- Packages
- Schedule
- Boat information
- Private bookings
- FAQs
- Contact details
If your content keeps overflowing your rack-card layout, the problem may not be your font size.
You may simply need a format with more space.
In that case, custom brochures may be a better fit for the amount of information you’re trying to communicate.
Real-World Rack Card Layout Examples
The same 4 × 9 dimensions can work very differently depending on the business.
Tourism
Top: Destination name
Middle: Strong destination photograph
Bottom: Short benefit + QR code
The back can include opening hours, location, pricing, or booking information.
Restaurant
Top: Signature food image
Headline: Brunch Worth Waking Up For
Details: Saturday + Sunday, 9 AM–2 PM
CTA: Scan to view the menu.
Real Estate
Top: Property photo
Headline: 3-Bedroom Home Near Downtown
Middle: Three key features
Bottom: Agent information + QR code
Overnight Prints also identifies 4 × 9 rack cards as an option for displaying property amenities and layouts in real estate marketing.
Hotel or Spa
Top: Experience-focused photograph
Headline: Your Vacation Needs a Spa Day
Middle: Featured services
Bottom: Scan to book.
The technical dimensions remain identical.
What changes is how you use the available space.
How to Set Up a 4 × 9 Rack Card File
Before you start designing, use this workflow.
Start With the Correct Specifications
For Overnight Prints, you’re working with:
Finished: 4″ × 9″
Full bleed: 4.125″ × 9.125″
Safe zone: 3.875″ × 8.875″
Resolution: 300 DPI
Recommended color: CMYK.
Build the Background to Full Bleed
Any photograph, color, or graphic intended to reach the edge should extend through the full-bleed dimensions.
Don’t stop it at 4 × 9.
Keep Critical Elements Inside the Safe Zone
Move logos, text, QR codes, contact information, and other essential elements comfortably inside the 3.875 × 8.875-inch safe area.
Check Your Images
Review raster images at their actual intended print size.
Watch for:
- Pixelation
- Blurriness
- Compression artifacts
- AI-generated artifacts
- Small images that have been excessively enlarged
If you’re incorporating AI-generated visuals, see our guide to using AI to create print-ready designs without losing print quality.
Review the Front and Back
If you’re printing both sides, check them separately.
Make sure:
- Both sides have bleed where needed
- Important content remains safe
- Contact details match
- QR codes work
- URLs are correct
- Images are sharp
- Nothing is accidentally upside down
Export in an Accepted Format
Overnight Prints currently lists TIF, PSD, PDF, PNG, JPG, EPS, and AI version 9 or newer among accepted rack-card file formats. (Overnight Prints)
Always check the current product specifications before submitting artwork in case requirements change.
Rack Card File Checklist
Before uploading the final artwork, check:
Dimensions
- Finished size is 4 × 9 inches
- Full-bleed artwork fills 4.125 × 9.125 inches
Safe Zone
- Text is inside the safe area
- Logo is inside the safe area
- QR code is inside the safe area
- Important parts of photos aren’t too close to the edge
Images
- Raster images are suitable for the intended print size
- Artwork is prepared at the recommended 300 DPI
- No visibly pixelated or blurry graphics
Color
- File follows the recommended CMYK workflow
Content
- Phone number is correct
- Address is correct
- URL works
- QR code has been tested
- Dates and prices are correct
Final Review
- Front checked
- Back checked
- Bleed checked
- Safe zone checked
- Final file matches current printer requirements
It takes a few minutes and can catch mistakes that are much harder to fix after printing.
Frequently Asked Questions About Rack Card Sizes
What is the standard rack card size?
The standard rack card size at Overnight Prints is 4 × 9 inches. This narrow vertical format is commonly used in brochure racks, visitor centers, hotels, restaurants, attractions, and other high-traffic locations. (Overnight Prints)
What is the full-bleed size for a 4 × 9 rack card?
For Overnight Prints’ 4 × 9 rack card, the current full-bleed dimensions are 4.125 × 9.125 inches. Background images and colors intended to reach the finished edge should extend through this area.
What is the safe zone for a 4 × 9 rack card?
Overnight Prints currently lists a 3.875 × 8.875-inch safe zone for its 4 × 9 rack card. Important text, logos, QR codes, and other essential content should stay comfortably within this area.
What size should a 4 × 9 rack card be in pixels?
At the recommended 300 DPI, Overnight Prints lists the full-bleed rack card dimensions as 1238 × 2738 pixels.
What resolution should rack cards be?
Overnight Prints recommends 300 DPI for rack card designs. Lower-resolution raster images may appear blurry or pixelated when printed. (Overnight Prints)
Do rack cards need bleed?
If a photograph, background color, pattern, or graphic should reach the finished edge, it should extend through the required full-bleed area. This helps prevent unintended white strips from appearing near the edges after trimming. (Overnight Prints)
Should rack cards be vertical?
Rack cards are commonly designed vertically because they’re often displayed in brochure racks. However, Overnight Prints’ current template library includes portrait and landscape options, so the best orientation also depends on how you intend to distribute the piece. (Overnight Prints)
What should go inside the safe zone?
Keep essential information inside the safe zone, including headlines, logos, phone numbers, addresses, QR codes, prices, promotional codes, and calls to action.
Backgrounds and other elements intended to run off the finished edge should extend outward through the bleed instead.
Is a rack card the same size as a bookmark?
No. Overnight Prints currently offers a 4 × 9-inch rack card and a 2 × 6-inch bookmark. Rack cards provide considerably more space and are primarily designed as promotional display materials, while bookmarks are designed to fit inside books. (Overnight Prints)
Get the Size Right Before You Start Designing
A good rack card starts before you choose the photograph, write the headline, or add the QR code.
It starts with the right dimensions.
For Overnight Prints, remember these three measurements:
4.125″ × 9.125″ → Full bleed
4″ × 9″ → Finished rack card
3.875″ × 8.875″ → Safe zone
Build edge-to-edge backgrounds through the full bleed, keep essential information comfortably inside the safe zone, and use the finished 4 × 9-inch area to judge how the card will actually look in someone’s hands.
Once the technical setup is right, you can focus on the part customers actually see: the design.